
Installing and configuring PrusaSlicer for our 3D printers

1. Installing PrusaSlicer
If you cannot start PrusaSlicer (see next step), you must install this program.
In a browser, search for 'Download PrusaSlicer'
or go directly to
https://www.prusa3d.com/p/prusaslicer.
There you can download the files for your favorite operating system.
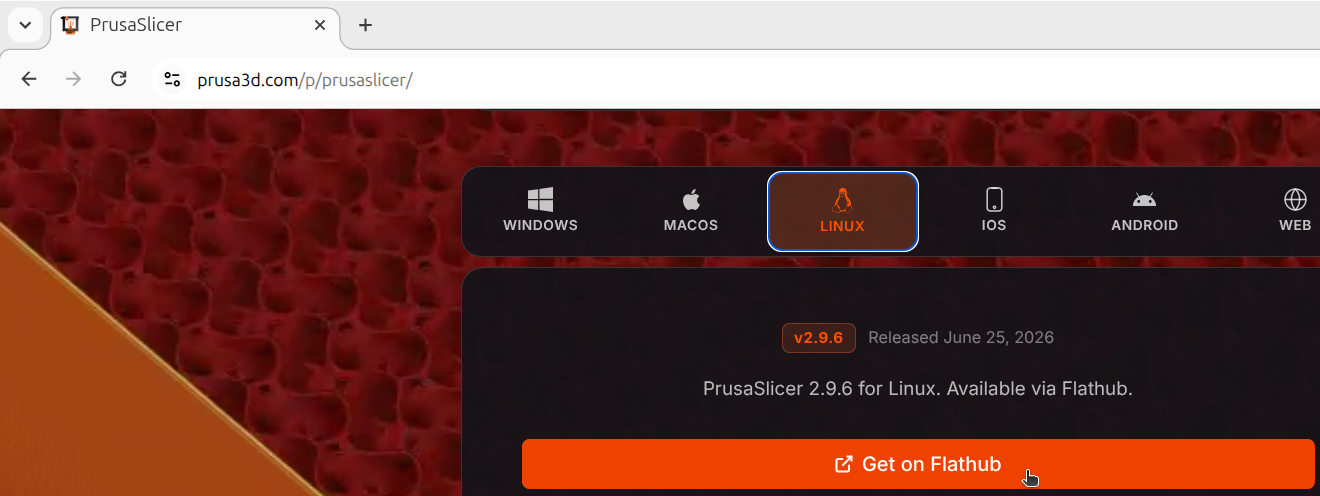
Launch the file to install PrusaSlicer.
2. Starting PrusaSlicer
On your computer, start PrusaSlicer. On the computers in Uppsala Makerspace there is often an icon on the Desktop. Click on the PrusaSlicer icon.

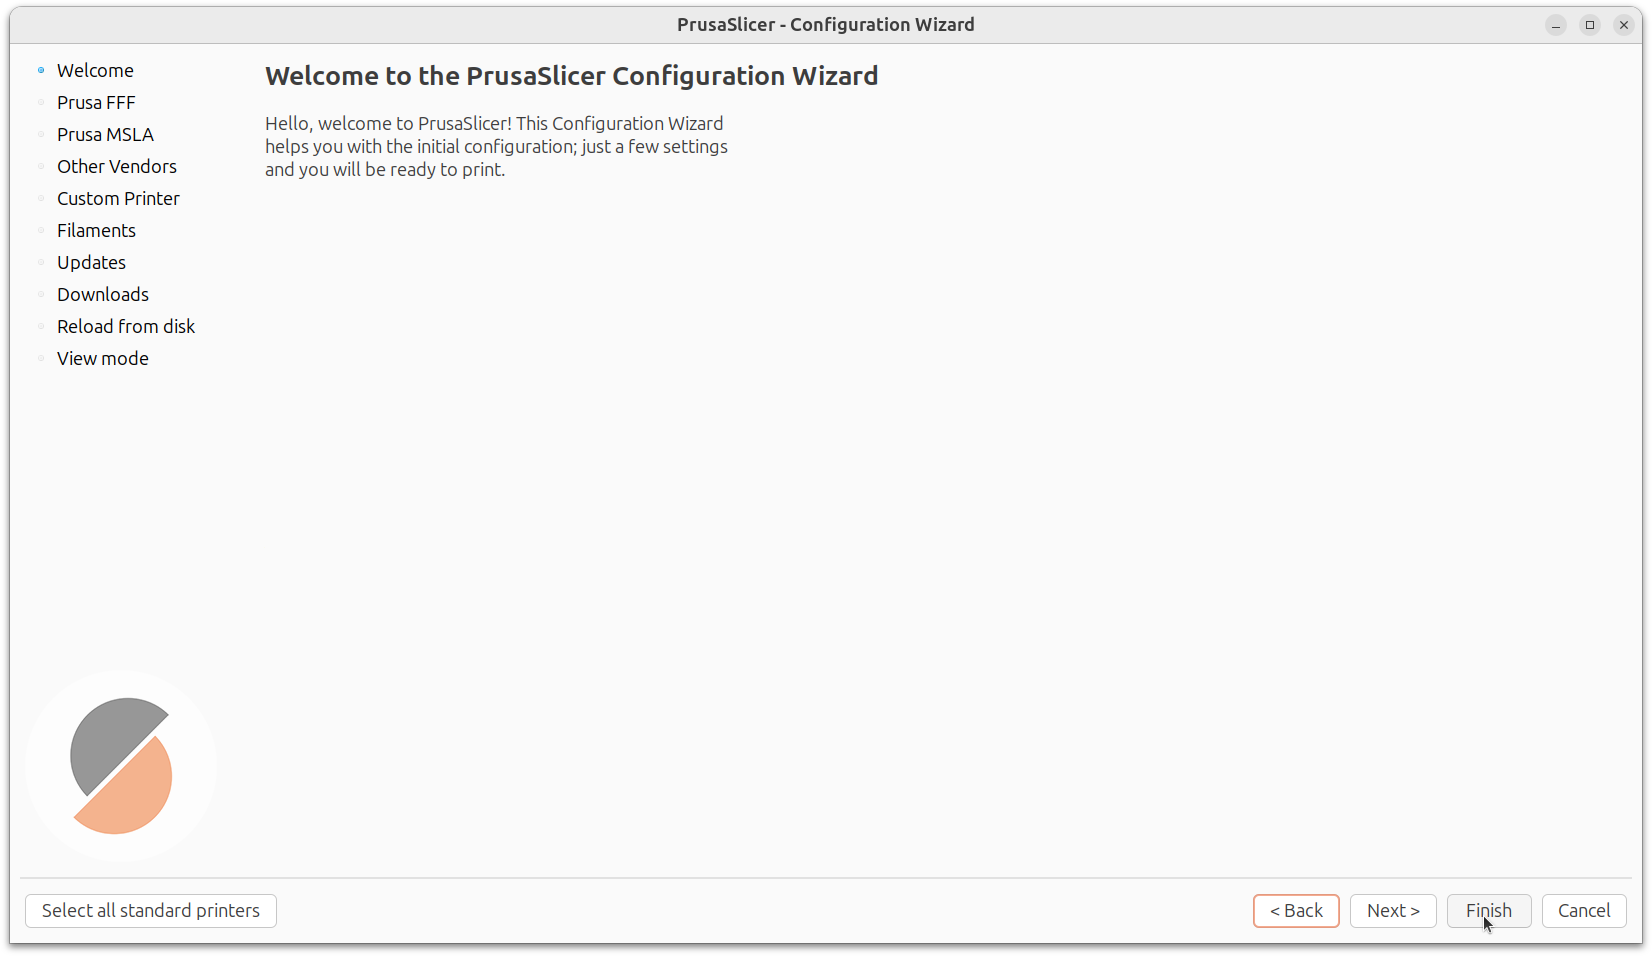
Now PrusaSlicer will start. If it displays the so-called 'Configuration Wizard', click 'Finish'.
3. Configuring PrusaSlicer
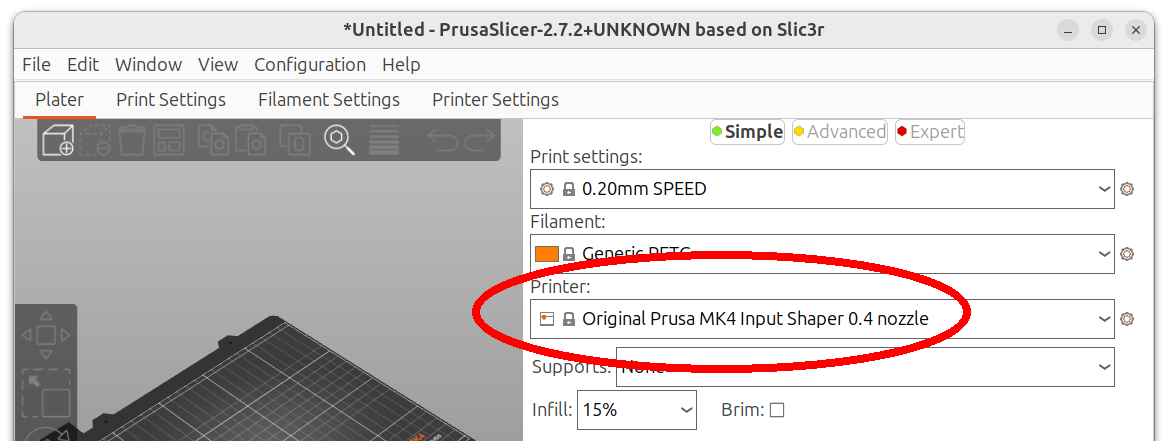
If PrusaSlicer doesn't show our 3D printers (they have names of planets), it's time to configure PrusaSlicer.
Here's what it looks like when PrusaSlicer doesn't show one of our 3D printers:
Uppsala Makerspace has a configuration file for all of their 3D printers.
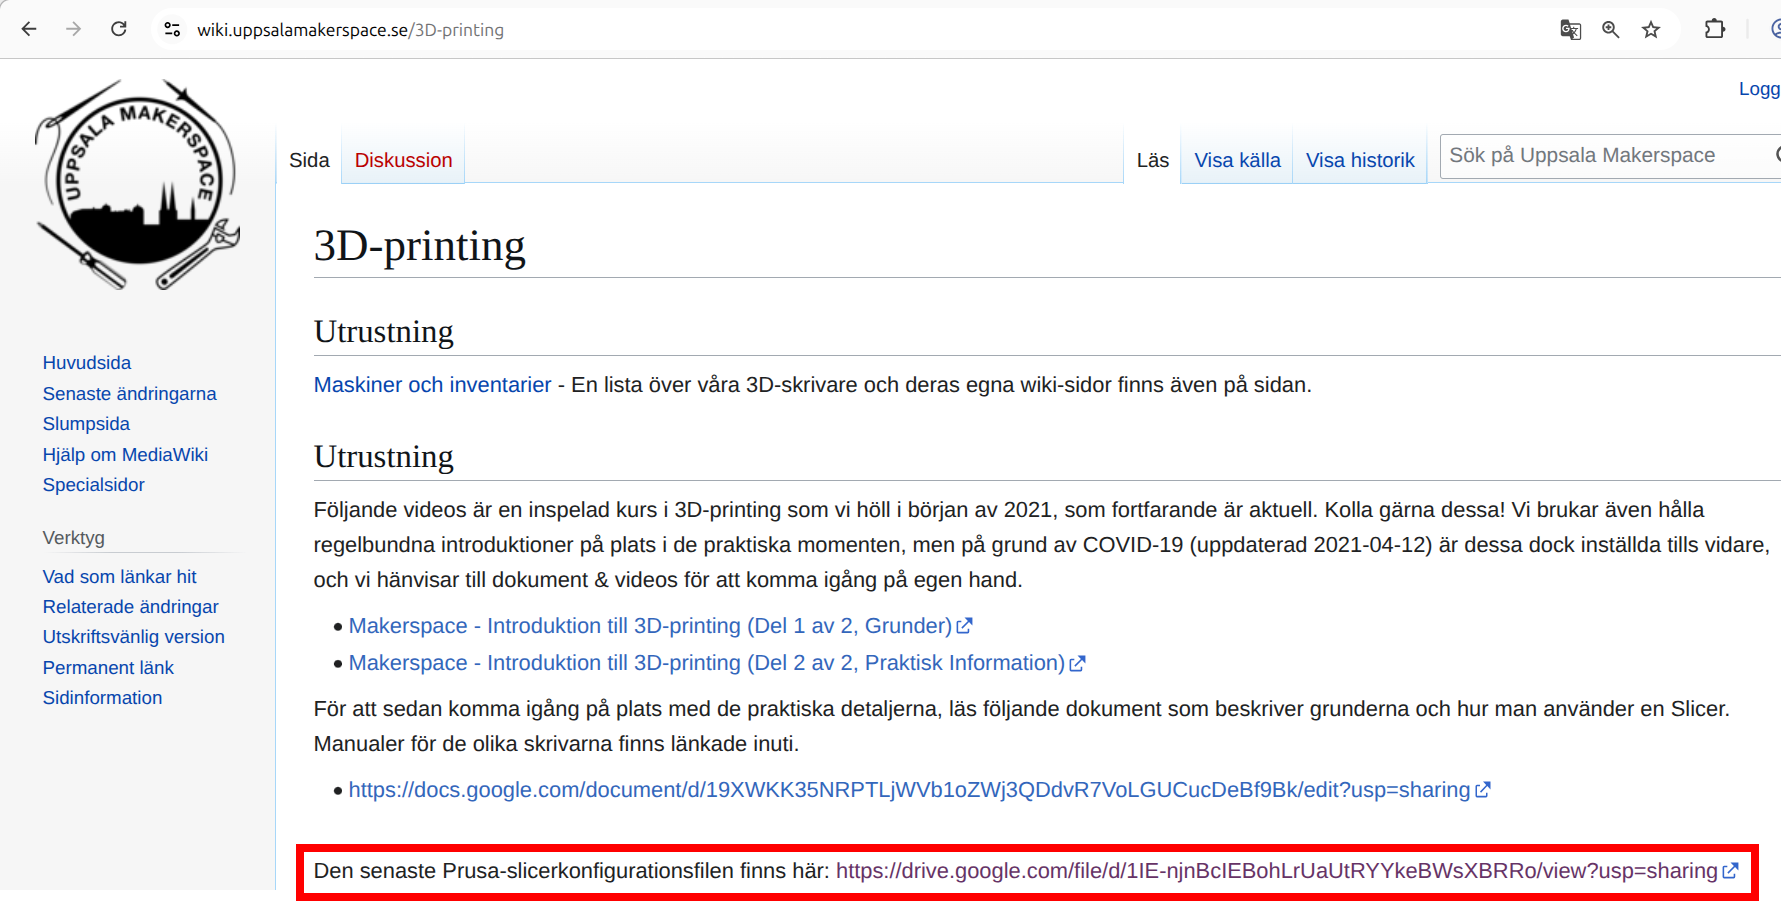
In a browser, search for 'Uppsala Makerspace wiki 3D printing'
or go directly to
https://wiki.uppsalamakerspace.se/3D-printing.
Download the latest configuration file.
In PrusaSlicer, click 'File | Import | Import Config Bundle'.
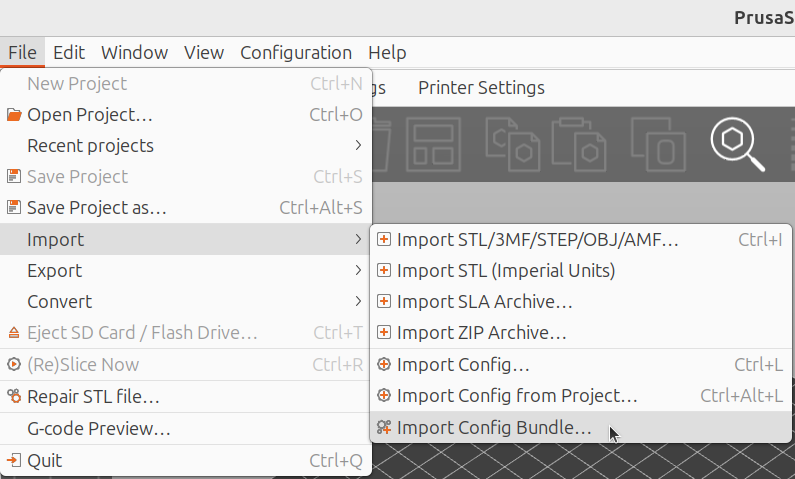
Search for the configuration file and klick on 'Open' ('Öppna').

Click 'OK' if a window shows that everything was successful.
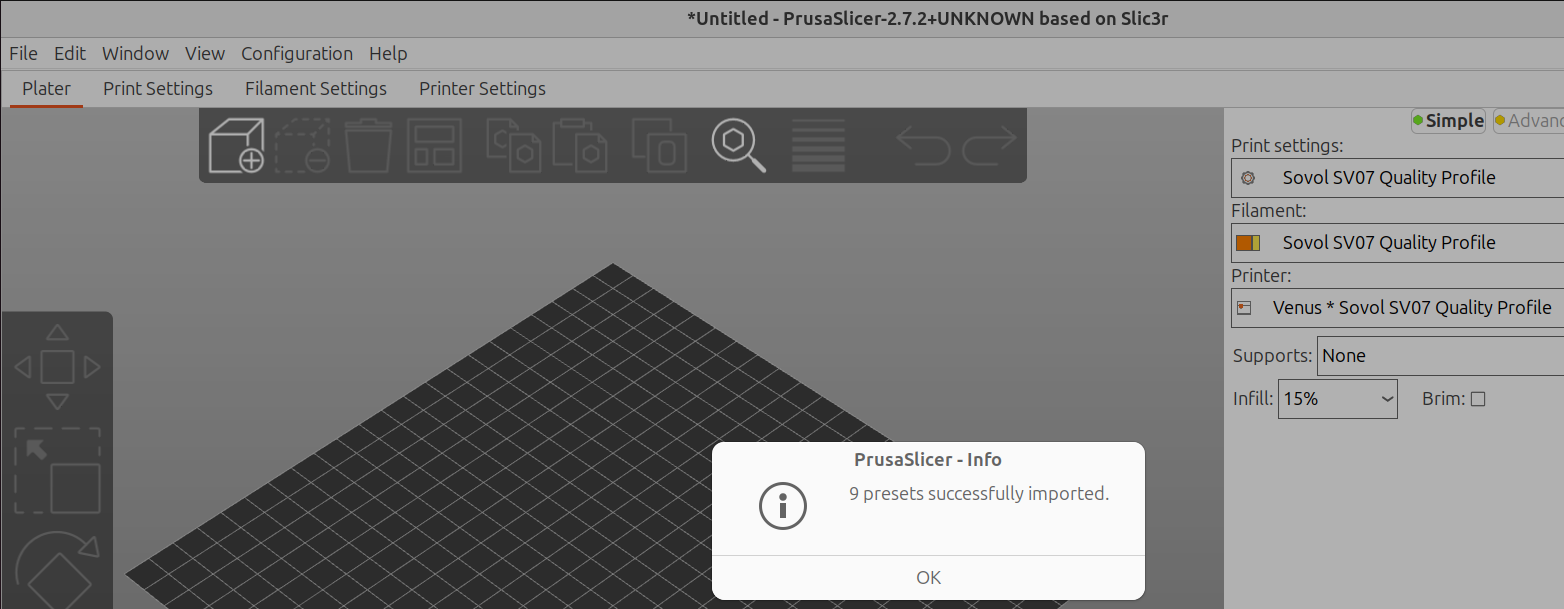
Now PrusaSlicer shows that our 3D printer called 'Venus' is available.
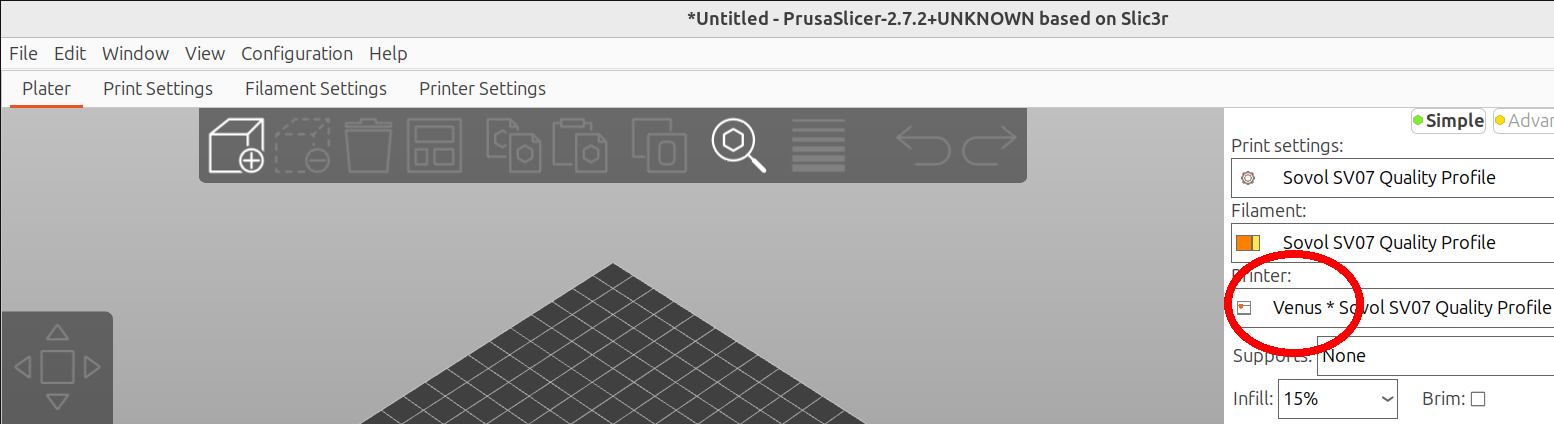
Congratulations! You can now 3D print!